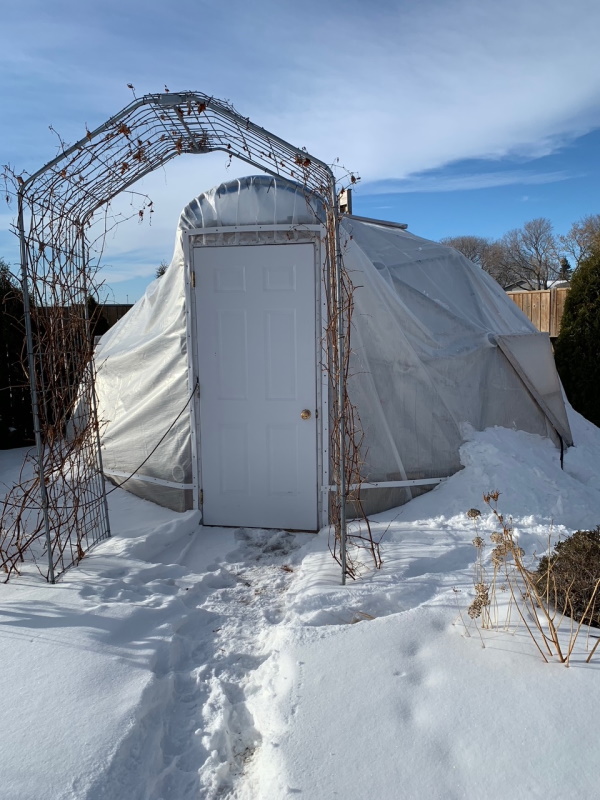
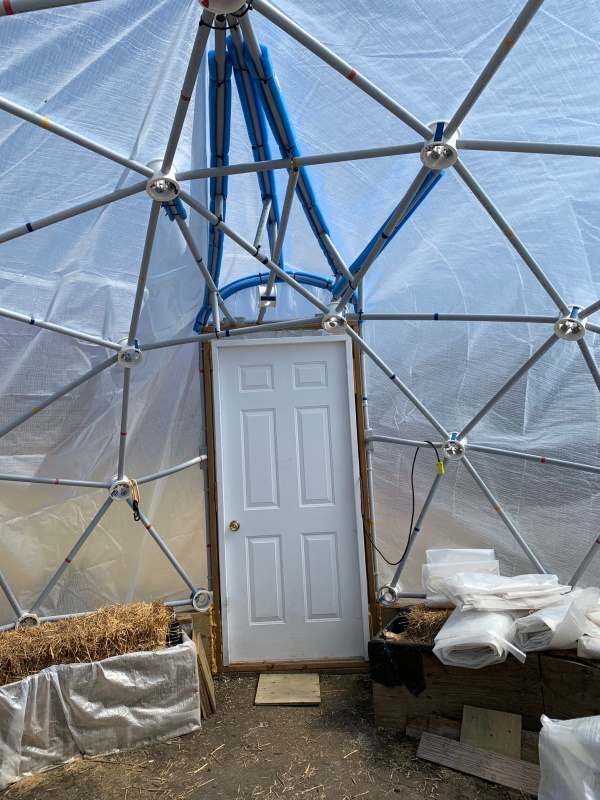
Menu
Geodesic Dome

Zip Tie Domes

Geodesic Dome Kits that are Easy to Build!

Customer Reviews of our Geodesic Dome Kits

Zip Tie Domes

Geodesic Chicken Coop
Geodesic Dome Kits that are Easy to Build!

Customer Reviews of our Geodesic Dome Kits

Zip Tie Domes

Customer Reviews of our Geodesic Dome Kits

Click Here to Call Us:
1-931-858-6892

Kim P., Brandon Manitoba, Canada - Customer Review of our
3v 5/8 Dual Covering "Hubs Only" Kit


Hello,

Here are some photos from inside our dome. I had sent you others earlier but not inside as I wanted to finish it a little more. The cover and pond liner came from northern greenhouse supply here in Manitoba.

In February three thermometers were installed shortly after a severe cold snap. High, low and min/max in the centre. Daytime temps from the double layer were encouraging as were night time temps with the 700 gallon water tank.

All crops were direct seeded into composted straw bales with cold crops planted Feb 26 and warm crops Apr 11. We are considered zone 3 here.

Rub areas were protected with pool noodles zip tied to the conduit struts and for the most part stood up well. I have made one repair by sewing a patch overtop of a hole on top and bottom of the hub to the upper left of the door. Extra poly was zip tied to that hub to reduce future rubbing and the struts had pool noodle added as well.

Thought you may be interested in the final product.

Kim P.

Brandon MB


Ring and Pony Wall

Our site is the former garden a triangular space in the NW corner of our suburban yard. With a center post and rope we established that the largest we could go was 17.5ft and your calculator was then used to determine strut length.

Issue: 18ft would be a suggested minimum as the fit for the standard slab door was very tight requiring modifications to the segments on both sides for the door, frame and jam to fit.

The base ring was connected and placed on site. It was then used to design and cut material for a 16in high treated lumber foundation wall.

Issue: 16in was an efficient use of 5/8 plywood sheeting however 24in high would be optimum to make a better fit for the water tank inside. Kim P


Original Door

The door was framed with conduit which was connected to the dome. One hub was removed to do this and associated hubs also removed or modified. This version resulted in a square finish which over winter toe the cover requiring adjustment.


Planting Beds

Inside perforated weeping tile was dug under the beds to provide future circulation of warm air in the cool season and cool air in the warm season. Scrap was used to build the beds and they were lined with scrap poly as well. Fill is straw bales composted as per the straw bales garden method. Reason: straw is cheaper, lighter and weed free as compared to top soil. As they compost down more can be added or heavy material like wood to the bottom and straw on top. This depth is not needed for the plants but is a good working height as we age.


New Door Installed

When it became apparent that the original door set up would not work with the poly changes were made. The door was removed and more and longer conduit was added from the peak to the curved piece over top of the door. Any potential rub areas were covered with dollar store pool noodles zip tied into place. Scraps and smaller pieces of conduit were also added for reinforcement if it looked necessary. (The door was reinstalled.) A 24in pony wall rather than 16 would have made for a better fit here as well as as for the water tank which is opposite the door. At 16in there is an air space between the two layers of about 16-20in which likely compromises effectiveness in the cooler seasons. 

Green or red noodles may have been better to assist plant growth but blue is all that was available.


Vents

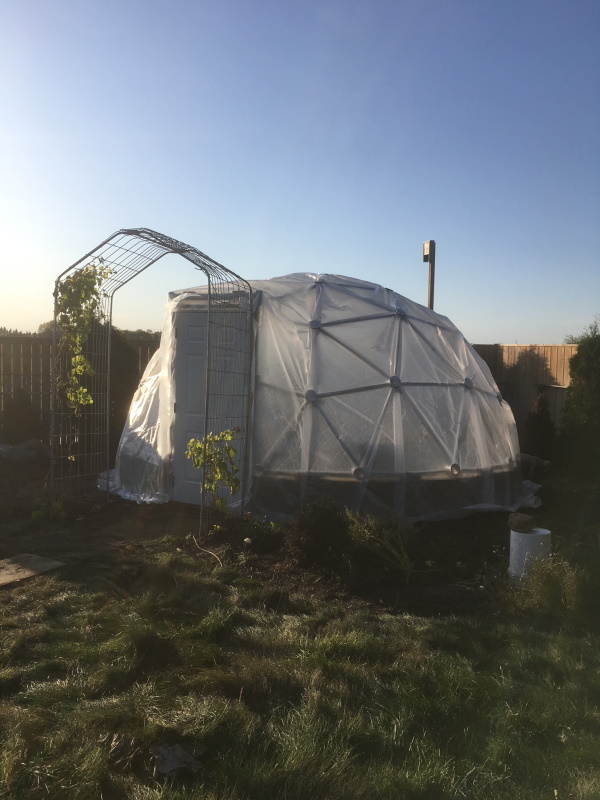
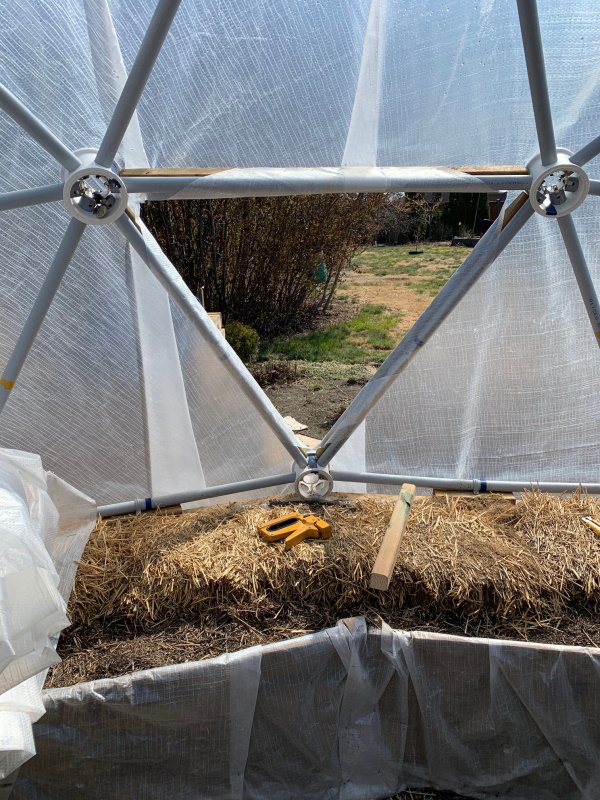
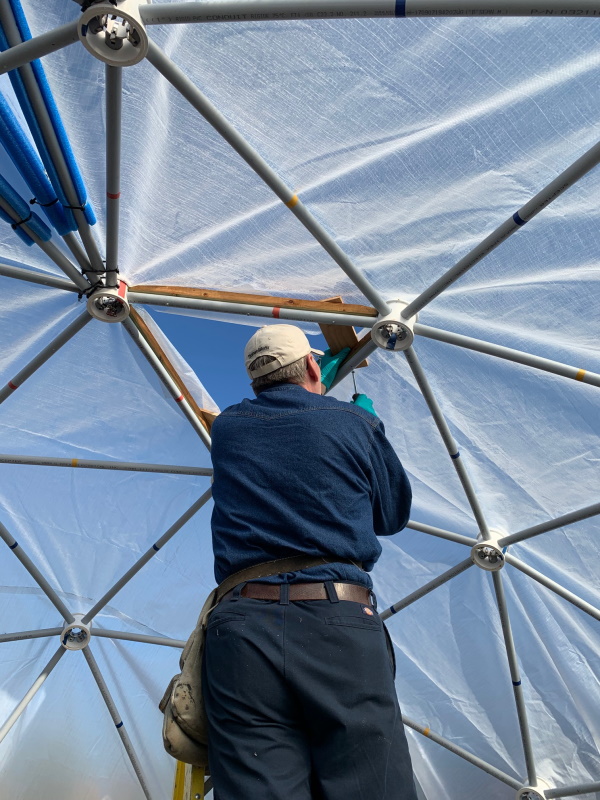
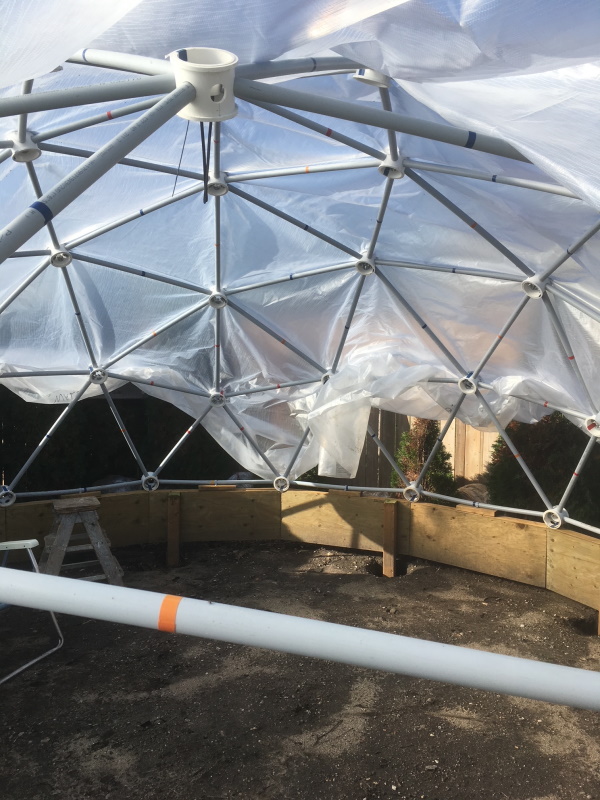
Once the structure was satisfactory the outter layer of poly was added and attached using 2in plastic strapping (at the top and bottom of the pony wall) and roofing nails. At that point three vents were added. One at the top and two at the bottom each 1/3 from the door.

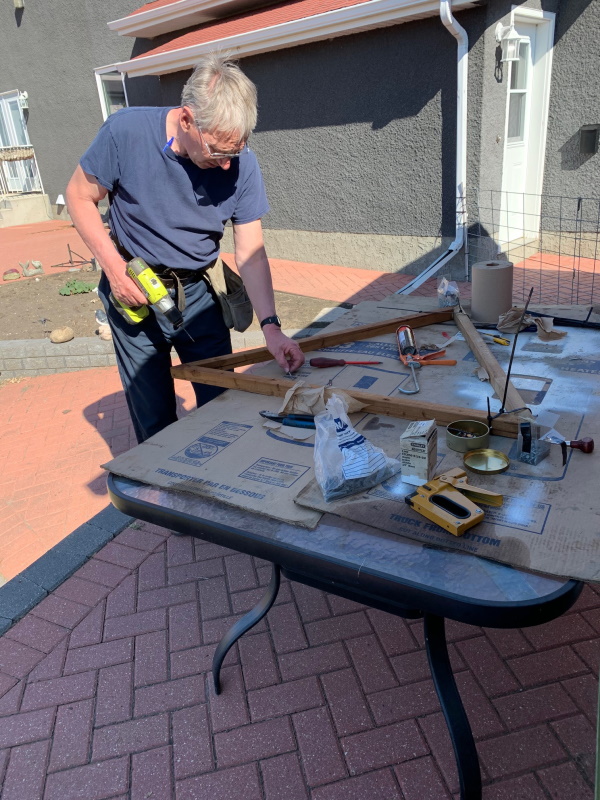
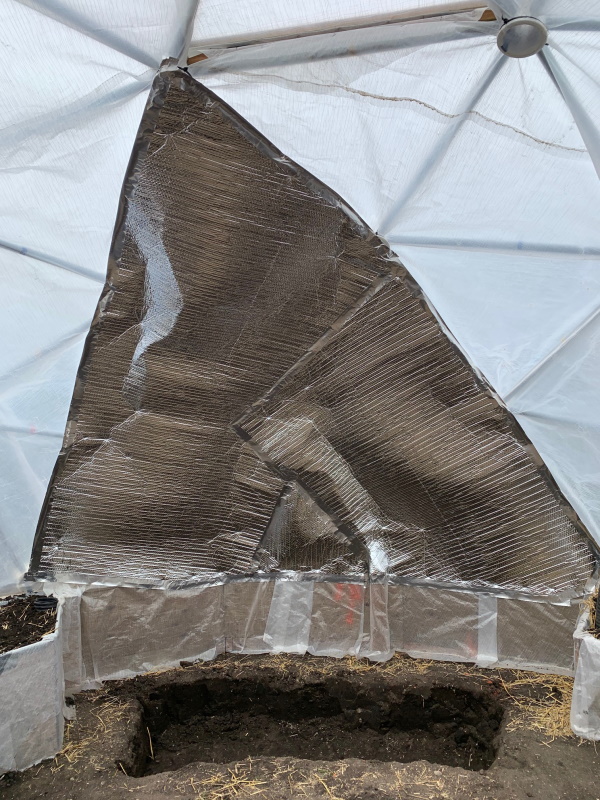
Treated lumber was cut to size and mounted to the outside of each strut with screws where each vent would be. The poly was carefully cut from center to each strut (hub not strut). The excess poly was then rolled and stapled to the lumber. Oversized cardboard was used to create a tough (rough) template. Final measurements were done on the template and it was cut to fit on top of the previously installed lumber.

When happy with the fit the template was used to create a wood frame of the vent. A cross piece was added to each frame for strength and to provide a mount for the Baylis vent openers.

These could have been better but we aren’t carpenters and they work for us.

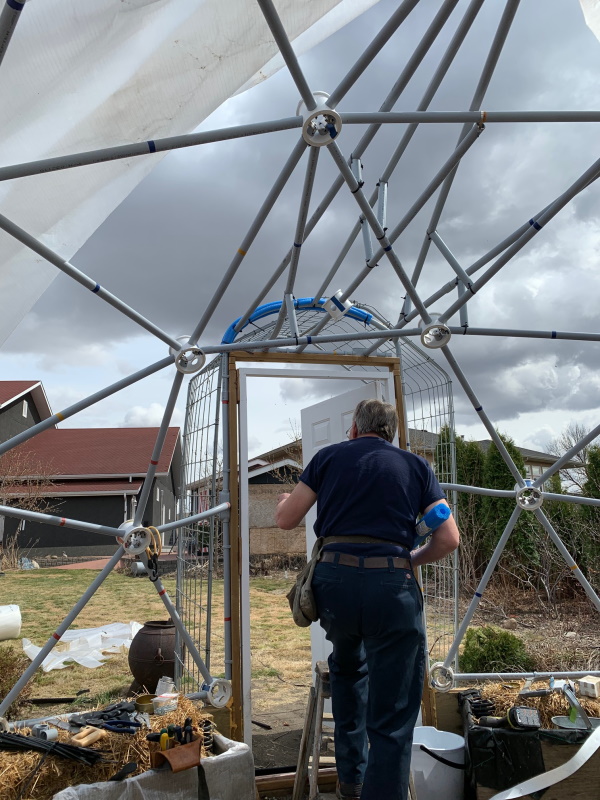
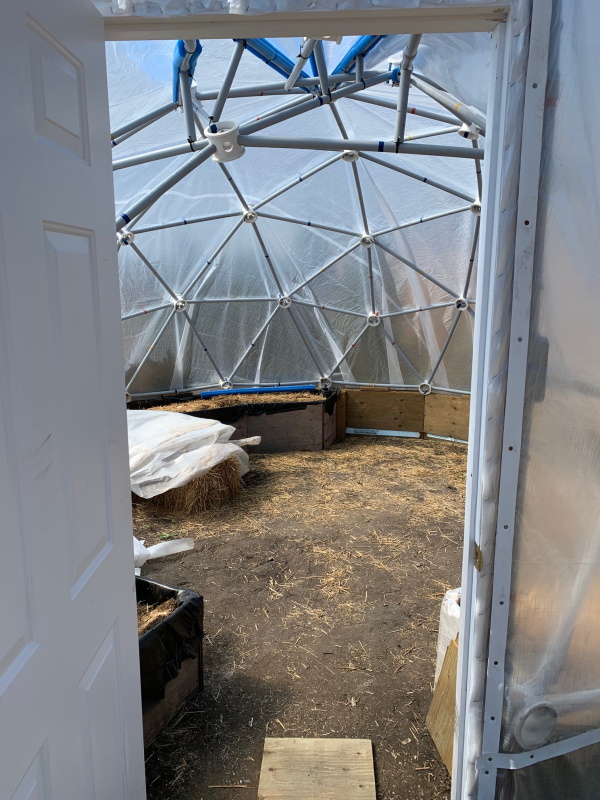
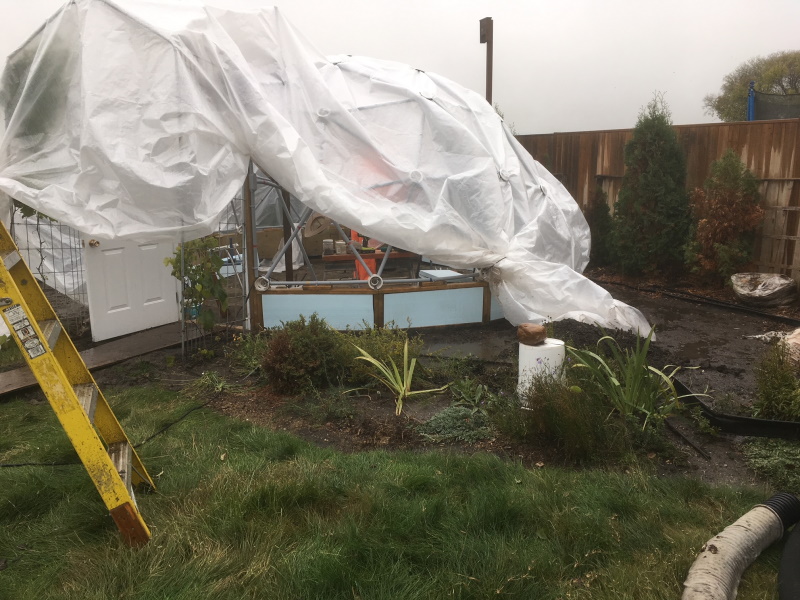
Note: screening for pests is worth considering. Also our door was a great buy at $20 but is (it) has no screen. A screen door would be much preferred to assist circulation. I leave the current door open but that could lead to mice, birds or other pest issues at some point.

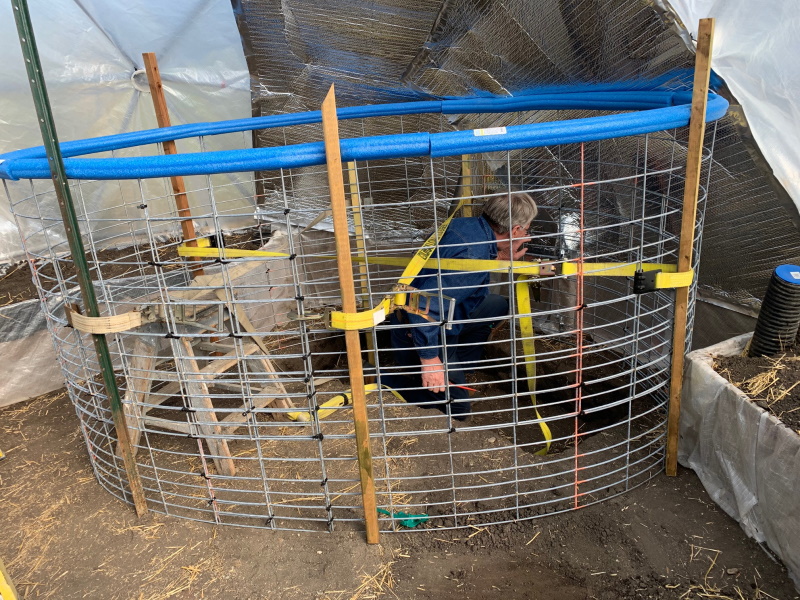
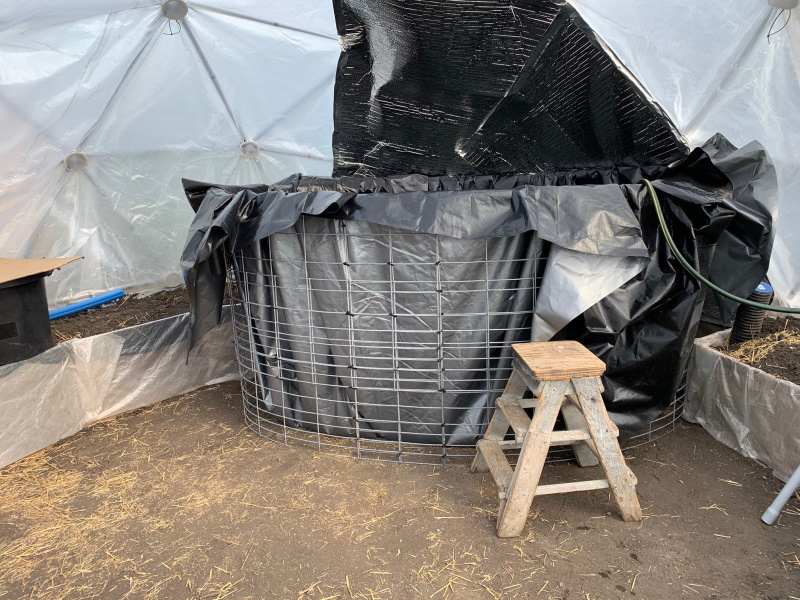
Mice are unlikely to be able to climb the poly to the vents with the door closed. Below grade 6in of hardware cloth was installed to reduce mouse access in the cooler seasons.

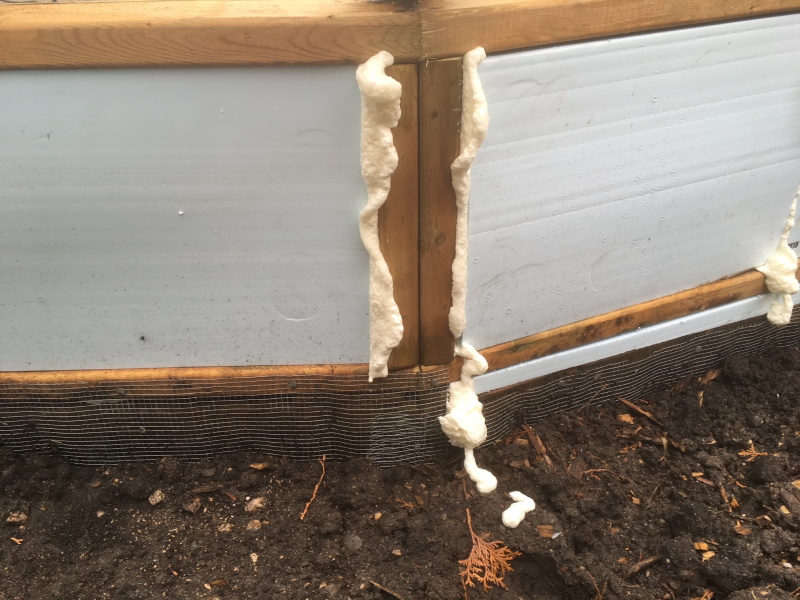
I forgot. The gap between inner and outer poly at the corner of each vent was sealed with spray foam. Wasn’t sure if it would hold with air movement etc but it seems to be ok and providing a seal. There is also a small gap remaining where the vents seat onto their frame of the greenhouse. Weather stripping may be added here however lack of light in the fall is a bigger issue than keeping heat in. Rain runs in here from the top as well which could impair the tape holding.


Water Tank

With the exterior done including vents the inside layer of poly was installed and attached.

The water tank is the heating/cooling engine for the green house. For this size structure the tank is about 750 gallons. It is placed on the north wall. Above the tank reflectix insulating film was installed. This was done by screwing short sections of lumber around each hub to be covered and along struts at the outside edge of the coverage area. (The) Reflectix was first stapled (which didn’t hold) as the material is too fragile. Then (it was) stapled with strapping under the staple. (This) Also was letting go so finally (it was) screwed with (remove a) short screws, washers and the strapping which seems to be working.

About 12 in deep of top soil was removed and added to the raised beds where the tank was installed leaving a ground level lip for access for maintenance. This has been important as it has been drained and cleaned twice for algae management and winter ice issues.

Hog panel 3ft x 16 ft was used to frame the tank. The panel is a decent price, available and we could manage it ourselves without needing welding etc. Some of your steel zip ties were used here after heavy plastic let go. I recommend the steel. A raised bed (of 4x4 posts) was installed in front of the tank. Had it not been there the tank frame may have failed. Four sections were zip tied to 48 in high. Not sure but believe it was 30 ft long. Hog panel was carried in and worked into place and zip tied closed. Here is where the 24in pony wall would have been better as the 48in height of the tank frame interfered with the inside wall of the dome. Future changes of tank liner or inner dome poly will be an issue. Pool noodles was used here to protect the top of the tank liner (along the back wall - front & sides it was removed as it interfered with the staple blocks. Zip ties were run through scraps of lumber and tied to top of the tank frame. Tank liner was stapled to this wood also with 2in strapping. Screws and washers likely better here as well. A skirt of black garbage bags covers the outside of the tank assisting with tank heat in the cooler seasons.


More About The Pony Wall

The frames were built and plywood installed on the inside. When the dome was complete poly was installed leaving the base open. Thei (This) gave us a work space when the fall rains started. The stud wall space was filled with styrofoam sheeting (1.5 inch 2 ply for a 3 in stud wall space) and gaps filled with spray foam. Outside (plywood) sheeting was then installed.

The ground was not level so gaps from grade to base of the stud wall were measured, cut and closed individually. (To install level a post hole auger was used to drill holes - can’t remember how many. Each post was squared, levelled and back filled. The wooden pony wall ring was then lifted and braced at level (we used a laser level) and attached to each post with lag bolts. This eliminated need for a foundation and associated paperwork & cost.) Six in of steel mesh was installed to the bottom plate to deter mice as the beds are straw compost and the floor is wood chips.


To place an order online, visit our Online Catalog.

For a telephone order, call us at 1-931-858-6892.

Or, go to our Contact Us page to send us an email.

Follow Zip Tie Domes on Facebook, YouTube, Pinterest and Instagram