Menu
Geodesic Dome

Zip Tie Domes

Geodesic Dome Kits that are Easy to Build!

Customer Reviews of our Geodesic Dome Kits

Zip Tie Domes

Geodesic Chicken Coop
Geodesic Dome Kits that are Easy to Build!

Customer Reviews of our Geodesic Dome Kits

Zip Tie Domes

Customer Reviews of our Geodesic Dome Kits

Click Here to Call Us:
1-931-858-6892

Christopher Dakin - Customer Reviews of Our 3v 5/8 Geodesic Dome


Hi,

I was wondering if you would consider granting a limited license to allow me to make my own geodesic dome based on your hub design?

What I want to do is to make a quick dome to demonstrate the feasibility of a small planetarium for the Astronomical Society I work with. As we run the place as a charity, we generally have few funds available, so would like to manufacture everything myself in my spare time using materials and sizes available in the UK market.

I'll be really happy to share pictures with you and keep you updated on the project.

Regards,

Chris Dakin, United Kingdom
Mansfield & Sutton Astronomical Society
Sherwood Observatory,
Coxmoor Road
Sutton-in-Ashfield, Notts,
NG17 5LF, England
Telephone (+44) 01623 552276


Note from John Hurt: The answer is "Yes". We are always glad to work with charities.


Time Lapse Photography of the 3v 5/8 Dome Build by Chris Dakin


How I made a Zip Tie Dome, by Chris Dakin, United Kingdom

Introduction

I am an active member of my local amateur astronomy club, Mansfield & Sutton Astronomical Society. We are wanting to build our own planetarium so we can put on shows to the public as part of our regular tours we offer of our self-built observatory and telescope.

I wanted to put together a single dome which I could create in my shed in my spare time, so that we can start to visualise what is possible and also to demonstrate the various different technologies on offer.

Please read below to see my own notes about building my own dome structure (with permission) after being inspired by the design from ziptiedomes.com.

Materials:

55 x 3 metre lengths of 20mm heavy gauge black PVC conduit

1 x 1.22 metre length of 40mm black PVC waste pipe

1 x 2.44 metre length of 110mm black PVC soil pipe

Lots of cable ties

I wanted a 3V 5/8 dome with a diameter of 5 metres, so with the centre of the hubs being 40mm this lead to the 3 strut lengths being 832mm, 968mm and 991mm.

I'm not sure if the struts on ziptiedomes are like this, but I cut every strut with a 12 degree angle on each end to help the struts naturally start forming a dome shape when assembling (angles on a 3V dome are either 10 or 12 degrees, but I guessed correctly that there is enough play available due to the fact I was working with plastic).


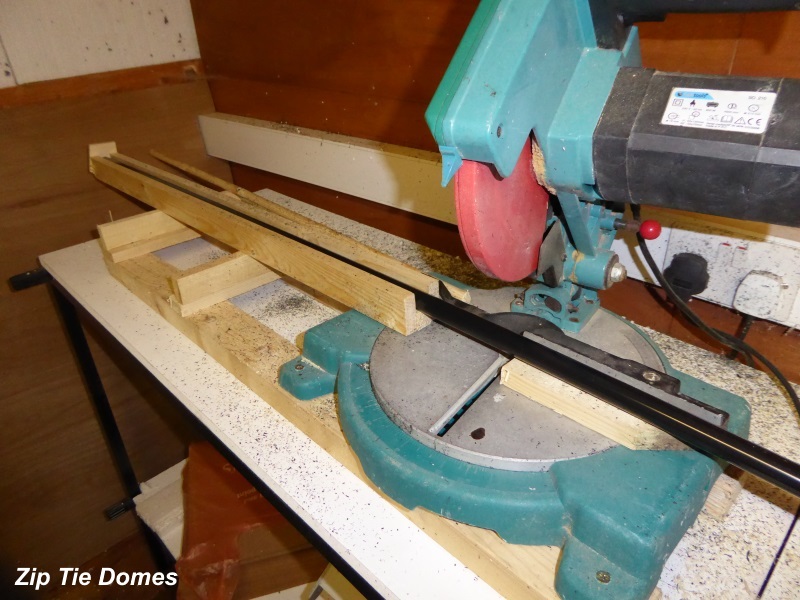
I made a jig for cutting the conduit with the lengths and angle set to allow fast cutting of all 165 struts.


All of the 'C' struts (longest ones) after they have been cut but before the cable tie holes were drilled.


Another jig was made to fit the angled struts against so that the cable tie holes would be drilled at a consistent length from the end.


An example of a drilled strut, note the cable tie hole is angled the same as the strut end itself.


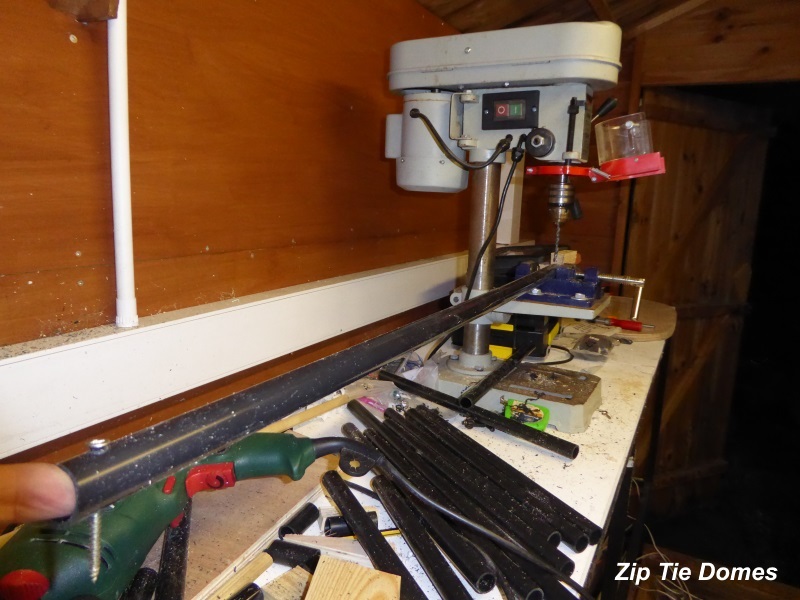
Making sure I get the holes drilled in the same orientation on both ends.


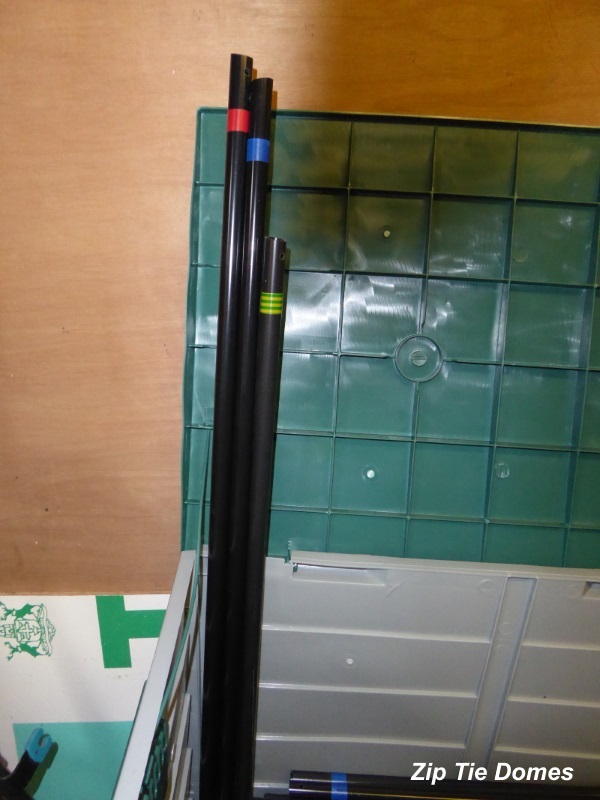
All 165 completed struts with each of the 3 lengths marked with different colours of electrical tape.


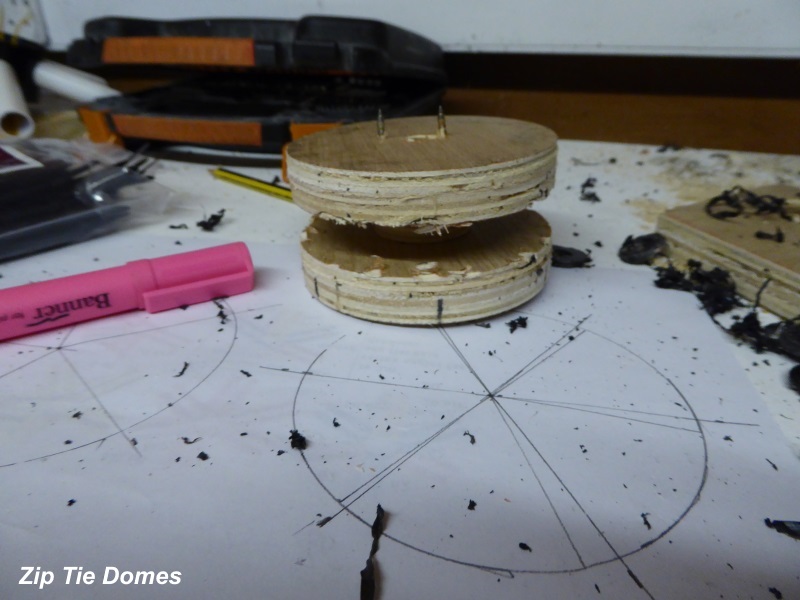
61 completed hub centres.


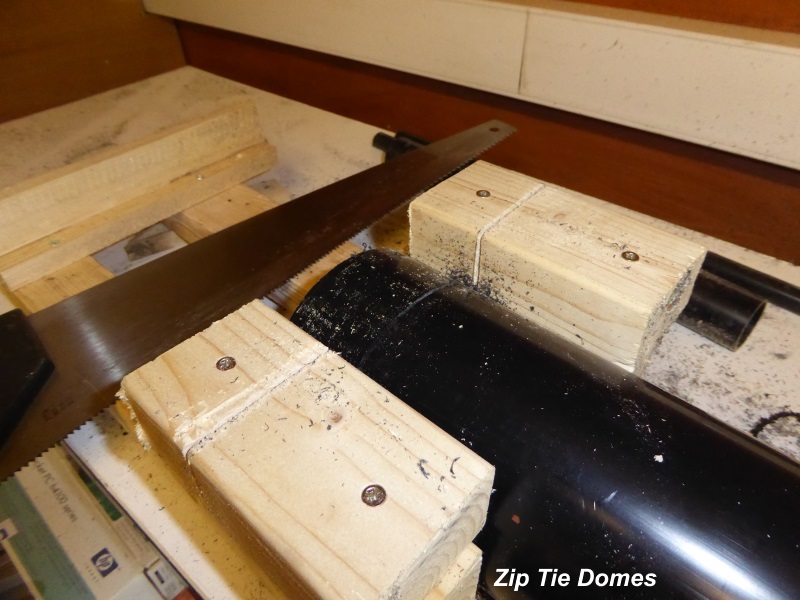
Here's the jig for cutting the outer parts of the hub, which I cut to 40mm lengths. My circular saw was not big enough for this, so I had to revert to hand tools. This was the hardest part of the build.


Here's a pile of about half the outer hubs, before drilling.


Yet another jig, this time so I could drill through the 110mm pipe without deforming it.


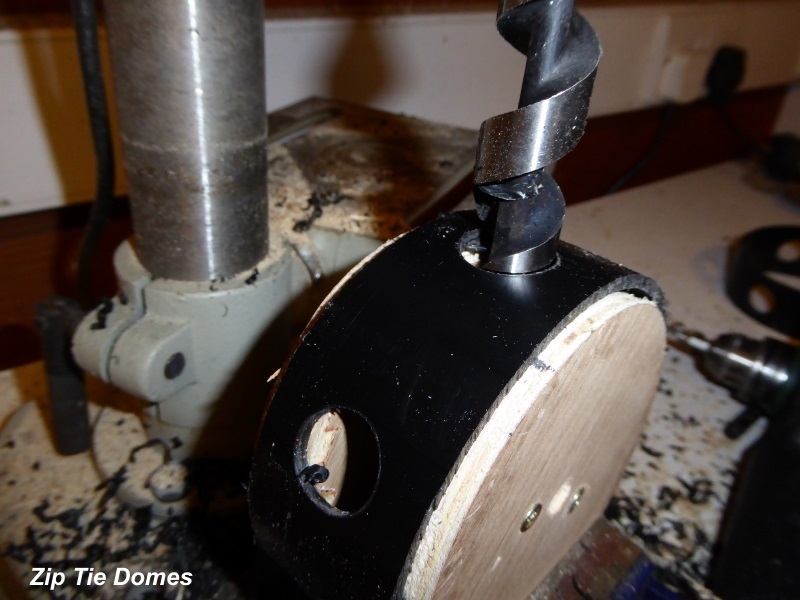
Drilling 20mm holes in the hubs, I needed 15 with 4 holes in which will form the base, 6 x 5 way connectors and 40 with 6 holes. Ordinarily a 3V dome's 6 way connectors are not all 60 degrees apart, but again I guessed that the the material would be forgiving enough, so all angles on the 6 way connectors were exactly 60 degrees.


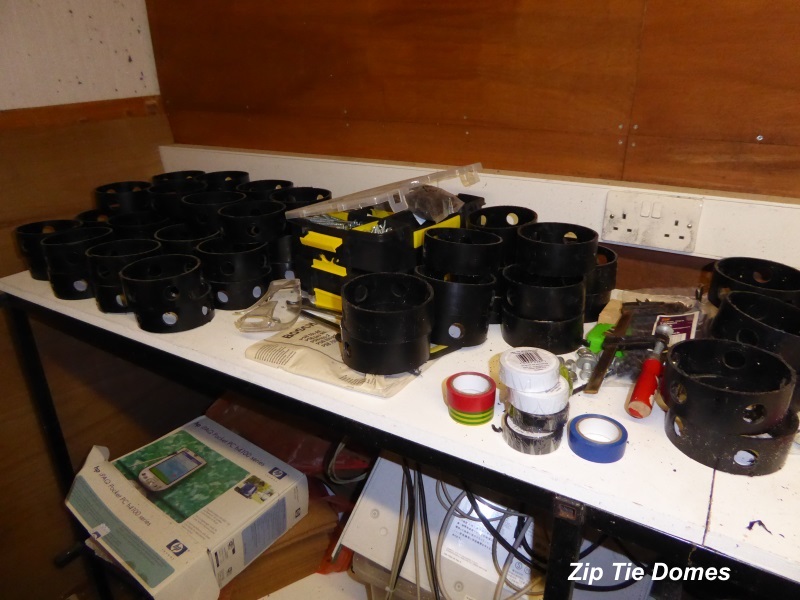
All the outer hubs completed, by far the most time consuming part of the whole fabrication. Okay that's everything made, now on to building the dome itself.


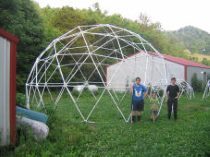
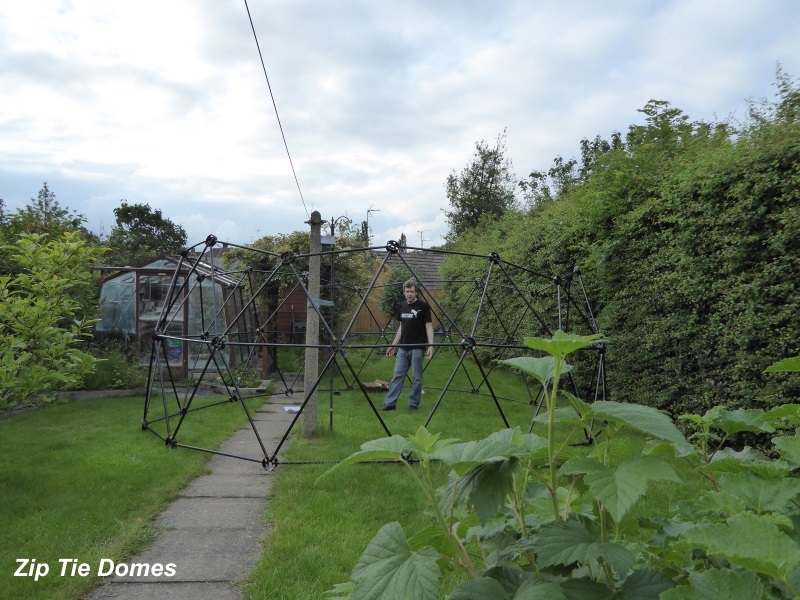
I did a test build in my back garden to see how long it would take me to do it on my own. It took around 2.5 hours for this first attempt. Here is the first layer completed and self supporting.


And the second layer...


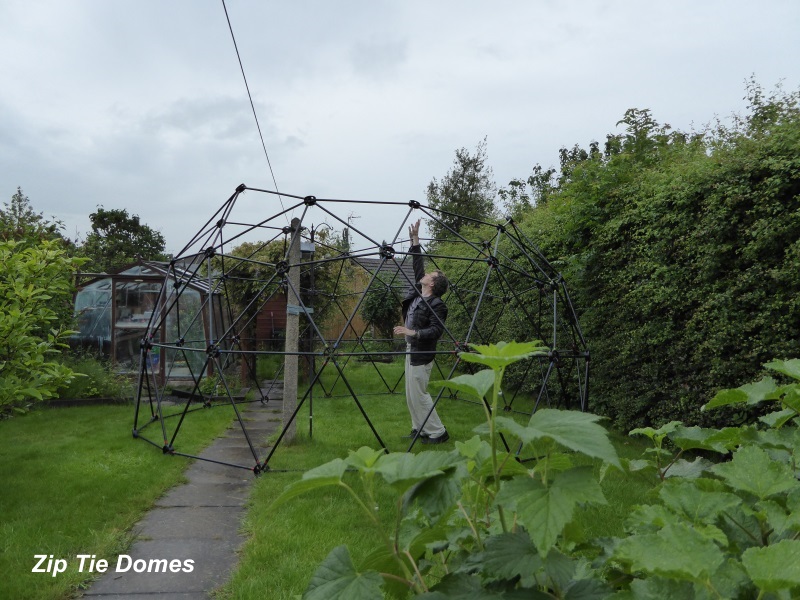
Now for the third layer which is almost complete in this picture, I'll be needing a ladder to finish tying those hubs together.


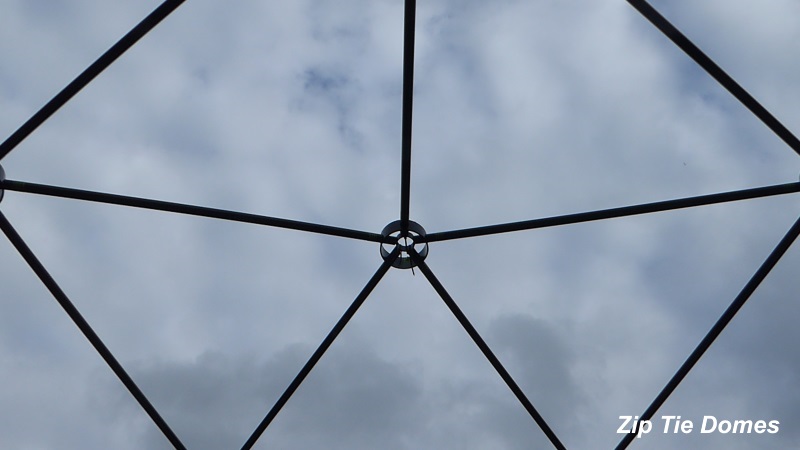
Looking up through the top of the dome. See those clouds? Yes, this is England and that is a normal sky around these parts, which is terrible for amateur astronomers like me. Hence the motivation to build a planetarium in the first place!


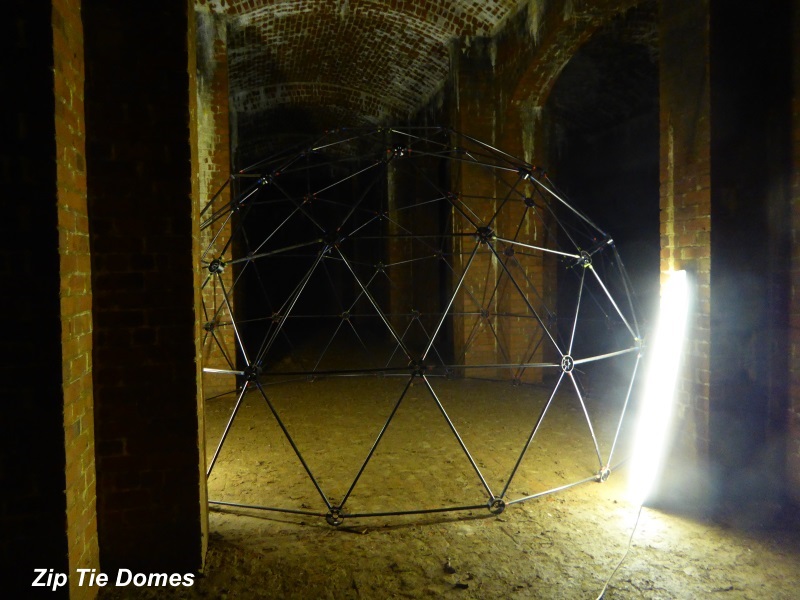
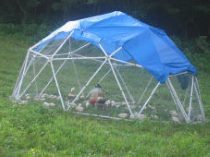
This is the dome in its new home, which is inside a 130 year old disused underground water reservoir. There is 6 metres of headroom here, which gives plenty of room for raising the dome above head height once it has been covered.


How to Purchase This 3v 5/8 "Hubs Only" Geodesic Dome Kit


To place an order online, visit our Online Catalog.

For a telephone order, call us at 1-931-858-6892.

Or, go to our Contact Us page to send us an email.

Follow Zip Tie Domes on Facebook, YouTube, Pinterest and Instagram