Menu
Geodesic Dome

Zip Tie Domes

How to Build a Geodesic Dome

Free Geodesic Dome Plans

Zip Tie Domes

Geodesic Chicken Coop
How to Build a Geodesic Dome

Free Geodesic Dome Plans

Zip Tie Domes

How to Build a Geodesic Dome

Click Here to Call Us:
1-931-858-6892

How to Build a Geodesic Dome
2v Geodesic Dome Plans

Hover Your Cursor Over Each Section to See the Animation

Download This Page as a .PDF File

Step 1.

Find a level area at least 16' by 16' wide to assemble the dome.

You will need an 8' stepladder to reach the top of the dome.

Wirecutters or a sharp knife will be useful for opening the packaging and for removing any Zip Ties if you make a mistake.

Step 2.

Unpack the dome materials and place them in a convenient spot outside the area where the dome will be constructed.

Use wire cutters or manually unwind the wire for releasing the struts from the restraining wires.

The package will include:

  • 35 Blue Struts 5' long - marked with blue tape.
  • 30 Red Struts 4' 5" long - marked with red tape.
  • 10 Black Foundation 4-way hubs, marked with black tape and with a short Blue Guide tape that indicates the correct hole for Step 3.
  • 6 Red 5-way Hubs, marked with red tape.
  • 10 Blue 6-way Hubs, marked with blue tape.
  • 26 2" Center Hubs.
  • 130 Heavy Duty Black Zip Ties (125 lbs)

NOTE: The 8" Heavy Duty Zip Ties are rated at 125 lbs, and are black to resist ultraviolet light degradation.

Step 3. Build the Foundation Ring.

Click to View the Video:

Collect 10 Blue Struts, 10 Black Foundation 4-way hubs, 10 Center Rings, and 10 Zip Ties.

Put the end of the Blue Strut into the opening on the Black Foundation Hub that has a Blue Guide Tape.

Insert a Zip Tie into the end of the Blue Strut.

Place a Center Ring on the end of the Blue Strut.

Loop the Zip Tie through the Center Ring and tighten the Zip Tie.

Repeat for all 10 Blue Struts.

Step 4. Assemble the Foundation Ring.


Top View

Perspective View

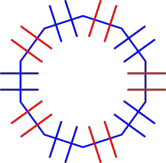
Lay the 10 Blue Struts in a circle, with one hub between every two struts.

Turn the openings in the hubs towards the center of the circle.

Attach the Struts to the hubs using 10 Zip Ties.

Adjust the Foundation Ring as needed to make a circle.

Click to View the Video:

Click to View the Video:

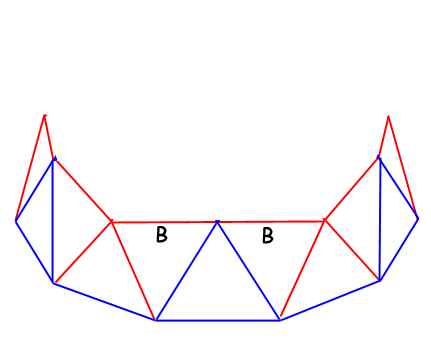
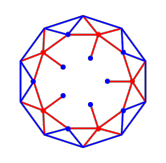
Step 5. Assemble the First Tier Supports.


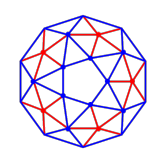
Top View

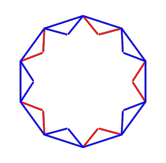
Select 10 Red Struts, and 10 Blue Struts.

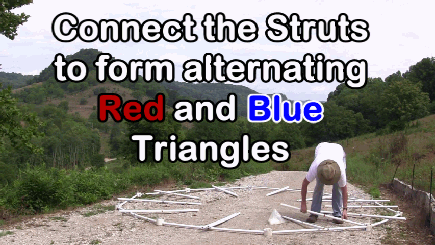
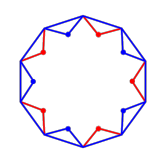
Lay alternate pairs of Red and Blue Struts on each Strut in the Foundation Ring.


Top View

Perspective View


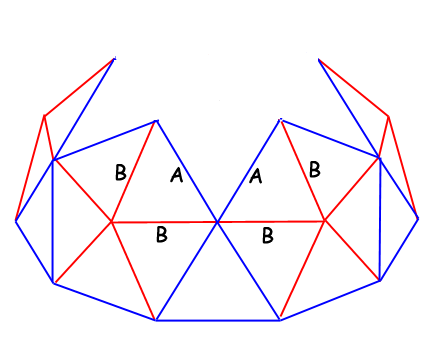
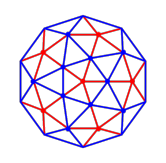
Attach the Struts to the Hubs in the Foundation Ring to make alternating Red and Blue triangles.


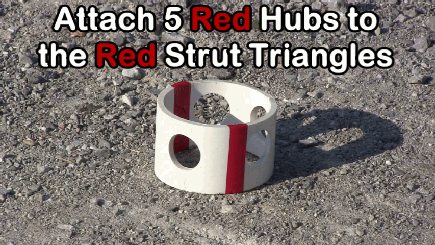
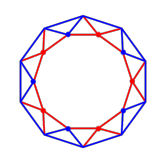
Select 5 Red Hubs, and 5 Blue Hubs.

Attach the Red Hubs to the Red Struts to complete the Red Triangles.

Attach the Blue Hubs to the Blue Struts to complete the Blue Triangles.

Step 6. Raise the First Tier.


Top View

Perspective View


Select 10 Red Struts.

Raise the Triangles and insert the Red Struts between the hubs.

Continue until the First Tier is complete.


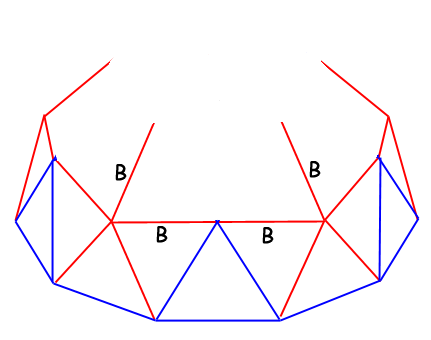
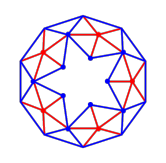
Step 7. Set the Red Struts for the Second Tier.


Top View

Perspective View
Select 5 Red Struts and 5 Blue Hubs.

Attach the 5 Blue Hubs to the 5 Red Struts.

Attach the other end of the 5 Red Struts to the Red Hubs on the First Tier.

Note: The Red hubs on the First Tier are above the Red Strut Triangles.


Step 8. Set the 10 Blue Struts for the Second Tier.


Top View

Perspective View


Select 10 Blue Struts.

Attach the 10 Blue Struts to the remaining Hub openings in the First Tier.


Step 9. Complete the Second Tier.


Top View

Perspective View


Select 5 Blue Struts.

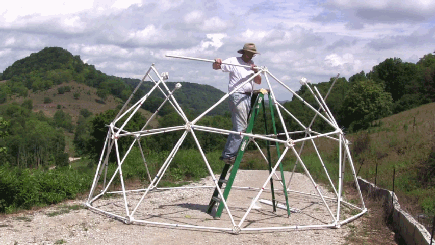
Using a stepladder for each hub, secure the two Blue Struts from Step 8 to the Blue 6-way hub.

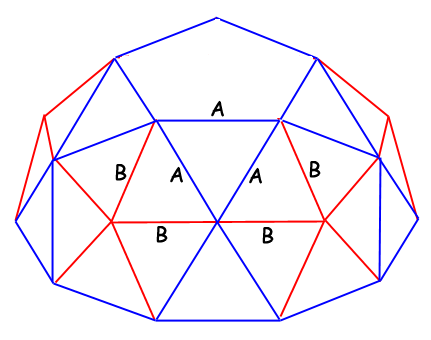
Next, attach a Blue Strut between each of the hubs to connect the Top Tier.


Step 10. Complete The Dome!


Top View

Perspective View
Take one Red Strut and attach to the remaining Red 6-way Hub.

Insert the other end of the Red Strut into one of the remaining hubs on the top of the Second Tier.

Complete the dome with the remaining 4 Red Struts.


To place an order online, visit our Online Catalog.

For a telephone order, call us at 1-931-858-6892.

Or, go to our Contact Us page to send us an email.